Your kitchen is one of the most used rooms in your home. But the thing is – it doesn’t have to be a big budget or a complete renovation to make it look brand new. With the right planning and a few smart choices, you can completely change the way your kitchen looks and functions, without breaking the bank.
Whether you own your home or rent, there are plenty of affordable kitchen solutions out there waiting to be discovered. This guide walks you through every step – from planning your budget to the finishing touches that make all the difference.
Why You Don’t Always Need a Full Kitchen Refit
Many people believe that the only way to fix a tired kitchen is to tear it all down and start fresh. That’s not at all true. A complete kitchen refit can cost thousands and take weeks. But smart, targeted updates – that focus on what you actually see and use every day – can transform your space in a weekend.
The key is to know where your money will make the biggest difference. Focus on the parts of your kitchen that get the most attention, and you’ll be amazed at the results.
Step 1: Plan Your Budget Before You Touch Anything
Before you buy anything or pick up a paintbrush, sit down and decide what you can really afford. Write down a list of the areas you want to update-cabinets, countertops, flooring, lighting, etc. Then put a number next to each one.
Always keep a small buffer of 10 to 15 percent of your total budget for impact. There will almost always be something you didn’t expect, whether it’s an appliance you need, a material that costs more than you thought, or a small repair along the way.
Prioritize the updates that will give you the most value for your money. For most people, that means cabinets, countertops, and lighting-these are the three things that first come to mind when you walk into any kitchen.
Pro tip from The Handy Home Pro: Shopping during sales, using discount codes, and buying from local suppliers can save you a surprising amount of money on materials.
Step 2: Give Your Cabinets a Fresh Look Without Replacing Them
Cabinets take up the most visual space in any kitchen. Replacing them is one of the most expensive jobs you can do. But refreshing them? It’s a lot cheaper.
If your cabinet boxes are still in good shape, all you need is the right paint. Use high-quality cabinet paint with the right primer, and you can completely change their appearance. Choose a bold color like deep navy or forest green for a modern feel, or a soft white or cream for a classic look. Mixing upper and lower cabinet colors also works really well and is very trendy right now.
While you’re at it, swap out the handles and knobs. New hardware-whether it’s sleek brushed brass, matte black, or stainless steel-can completely transform the personality of a kitchen. It may seem like a small thing, but it makes a big difference.
You might also consider replacing just the cabinet doors instead of the entire unit. This is much cheaper than buying new cabinets and will give you a much fresher look. Flat-pack door replacements are a cost-effective option and come in a variety of styles.
Read Next: Bathroom Renovation Guide: Tile Drenching & Plumbing In 2026
Step 3: Update Your Worktops with Budget-Friendly Materials
Countertops take a lot of daily use – cutting, heating, watering and scrubbing. That means they wear out faster than most things in the kitchen. But they don’t have to cost a fortune to replace.
Laminate countertops are one of the best affordable kitchen solutions available today. They look and feel like stone, marble or wood, and they’re easy to install and maintain. Butcher block countertops made from hardwoods like oak or maple are also a great choice – they look warm and attractive, and if they start to scratch over time, you can sand and re-oil them to bring them back to life.
If your existing countertops are structurally sound but just look old, try refinishing them. Marble or granite-effect contact paper, or a painted finish with the right sealant, can completely change their appearance for very little money.
Step 4: Transform Your Kitchen Floor Without Ripping It Up
A new floor makes a big difference in the kitchen experience. And the good news is that you don’t have to tear up what you already have to get a fresh look.
Laying tiles directly over your existing floor is one of the most efficient and cost-effective approaches. As long as your base floor is level and stable, this works very well. Tiles come in hundreds of styles and colors, they’re durable, and they easily handle kitchen spills.
If tiles seem like too much work, peel-and-stick vinyl tiles are a great option – especially for renters or anyone who wants flexibility. They’re easy to apply, come in designs that mimic wood, stone, or ceramic, and can be removed without damage. You can also get creative and paint your existing floor with durable floor paint in geometric or checkerboard patterns for a unique, personalized touch.
Step 5: Add a Splashback for a Striking, Practical Finish
One update that creates an instant focal point in any kitchen is a new splashback. Behind your hob or sink, a well-chosen splashback draws attention, protects your walls from grease and splatters, and adds a real design statement to the space.
Glass splashbacks are a great option-they’re available in a wide range of colors and finishes, from matte to metallic and patterned. They’re quick to install without the need for a professional, saving you time and money. For a soft industrial feel, try graphite gray with brass highlights. For a warm, rich look, deep green works beautifully with brass tones.
If glass isn’t your style, adhesive tile splashback sheets are more affordable. They come in mosaic, subway, and geometric patterns, and you can fit them yourself in a few hours.
Step 6: Upgrade Your Lighting for Instant Ambiance
Lighting is one of the most underrated parts of a kitchen refresh. The right lighting makes a kitchen feel bigger, cleaner, and more welcoming. The wrong lighting – or no lighting – makes even a well-designed kitchen feel flat.
Start by replacing old ceiling fixtures with new, energy-efficient LED options. LED lights last much longer than traditional bulbs and cost less to run. For a real step up, add under-cabinet lighting. LED strip lights or small puck lights under your wall units create a warm glow over your worktops and make prep work easier. They’re affordable and easy to install yourself.
If you have a kitchen island or a dining area inside your kitchen, pendant lights above it create a beautiful focal point. You can find stylish, affordable pendant lights online and at most home improvement stores.
The Handy Home Pro recommends adding a dimmer switch too – it lets you change the mood of the room from bright and practical during cooking to warm and relaxed during meals.
Step 7: Make Use of Vertical Space and Smart Storage
A cluttered kitchen always feels smaller and more stressful than it is. One of the best cheap kitchen solutions is to be smarter about storage without buying new cabinets.
Replace some of your upper wall cabinets with open shelving. Open shelves are less expensive than closed cabinets, they make the room feel more open and airy, and they give you a chance to display your pretty things – colorful ceramic bowls, vintage teacups, a set of matching storage jars. Use a few baskets or uniform containers to keep things organized.
Inside your existing cabinets, add pull-out drawer organizers, lazy Susans for corner spaces, and under-shelf baskets. These small additions allow you to make good use of every inch of your closet.
Adhesive hooks and strips on walls or inside cabinet doors let you hang mugs, utensils, tea towels, and small tools without drilling or making permanent changes. This is perfect if you’re renting and don’t want to risk your deposit.
Step 8: Use Paint to Change Everything
Paint is probably the most powerful tool in any budget home makeover. It’s very affordable and has a big impact on the look of a room.
A fresh coat of paint on your walls can brighten everything up, especially if you choose a lighter or more trendy color than your current color. Kitchen-specific paints are designed to handle steam and moisture without peeling, so they’re worth the small extra cost.
Don’t stop at the walls. Paint your cabinets, your kitchen table, your dining chairs. Mix bold accent walls with neutral units. Use color to create zones in a large kitchen. Painting the inside of open shelves a contrasting color also gives a beautiful layered look.
Step 9: Add Small Details That Pull It All Together
Once the big updates are done, the finishing touches are what really make the kitchen feel personal and complete.
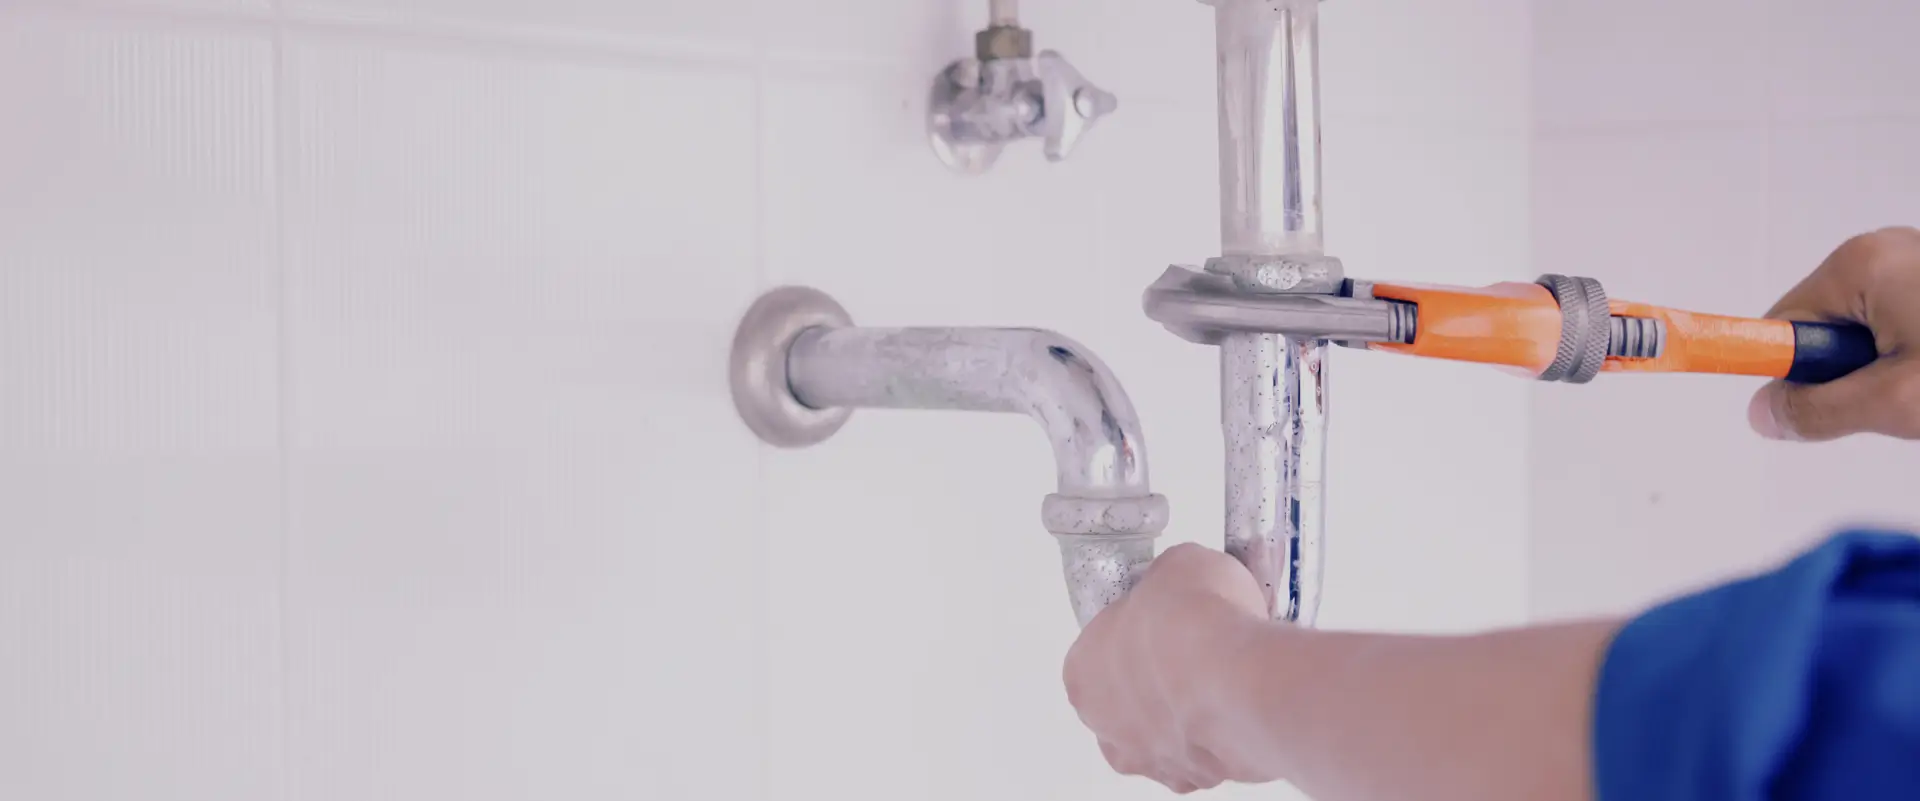
Swap out your old faucet for a new mixer tap. A modern pull-out faucet or sleek bridge mixer can completely change the feel of your sink area, and it’s a job that many people can handle themselves with basic DIY skills.
Add a few potted herbs to your window sill – basil, rosemary, mint, or thyme. It brings a natural freshness to the space, looks beautiful, and also saves you money on your food shopping.
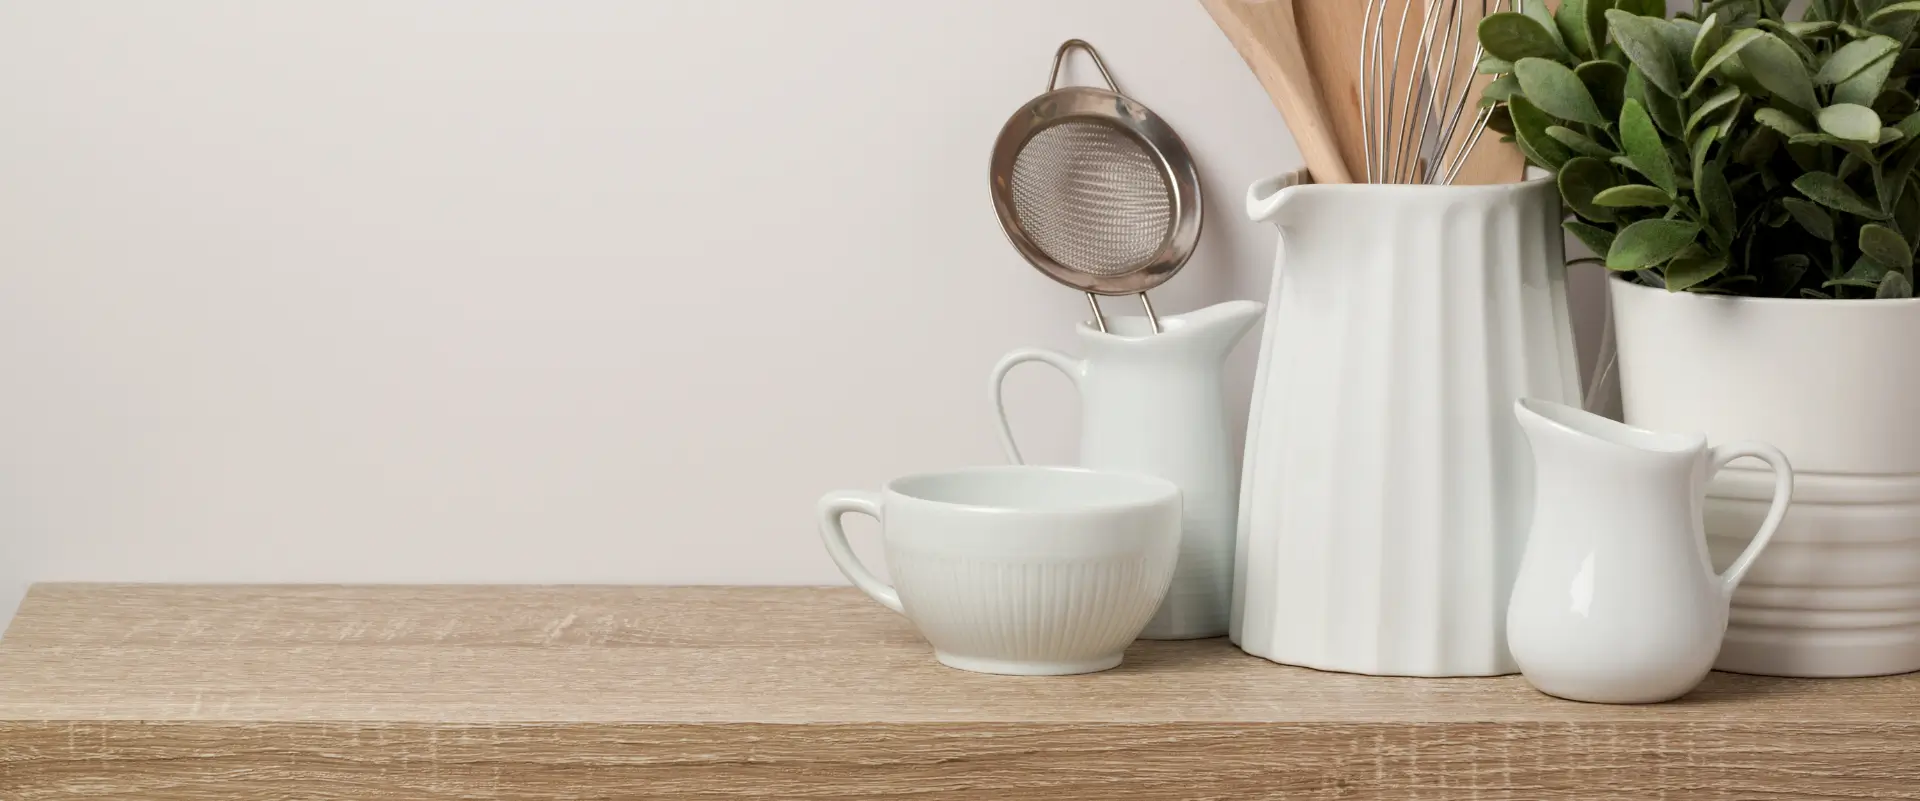
Bring in some new kitchen accessories that match your chosen color scheme – a stylish bread bin, matching storage jars, a new kettle and toaster set. Functional decor that looks great is a sweet spot for an inexpensive kitchen upgrade.
Mistakes to Avoid When Refreshing on a Budget
- Don’t change the layout unnecessarily. Moving your sink, oven or fridge means expensive plumbing and electrical work. Keep your existing layout and spend your money on visible upgrades instead.
- Don’t underestimate DIY time. Painting cabinets, fitting splashbacks and installing shelves takes longer than it looks online. Plan your time properly and don’t rush the prep work.
- Don’t cut corners on quality where it counts. A cheap paint job that’s going to be a mess in three months isn’t a savings – it’s just a deferred expense. Choose quality paint, a good primer and a durable finish for everyday use.
- Don’t forget about cohesion. Mixing styles, finishes and colours will always look unfinished. Choose a colour palette and stick to it. Make sure your handles, lighting and accessories all look like they belong in the same room.
Further Reading: Why Hiring a Professional Handyman Is the Smart Choice for Your Home Repairs
The Benefits of Refreshing Your Kitchen on a Budget
Getting your kitchen done right doesn’t just make your home more livable-it adds real value. Buyers and renters think first of a clean, well-designed kitchen. Even small updates like new hardware, fresh paint, and better lighting can add significantly to your home’s value.
In addition to the financial value, a well-functioning and beautiful kitchen makes everyday life more enjoyable. Cooking seems easier. Cleaning seems less daunting. And entertaining people is more fun.
Handy Home Pro sees these kinds of smart, budget-conscious refreshes every day-and the results always speak for themselves.
Conclusion
You don’t need a big budget or weeks of distractions to get a kitchen you love. The best affordable kitchen solutions are those that focus on what you see and use every day-your cabinets, countertops, flooring, lighting, and the little details.
Start with a clear plan and a realistic budget. Choose your priorities. Work through each update at a pace that’s comfortable for you. Keep your color scheme consistent and your choices practical. And don’t forget to enjoy the process – transforming your kitchen is one of the most satisfying home projects you can take on. Some of the ideas in this guide, done well, can give your kitchen a completely new look – without breaking the bank.
Frequently Asked Questions:
It depends on how much change you want to make. Simple updates like new paint, hardware and an adhesive splashback can cost less than £500. Major updates like new worktops, flooring and lighting can cost between £1,000-£2,500 in total – which is still a lot less than a full refit which can run into the thousands.
Yes, absolutely. Focus on removable and permanent options like adhesive tile stickers, peel-and-stick flooring, adhesive hooks and freestanding furniture. Always check your tenancy agreement before making any changes, and ask your landlord if you’re unsure.
Painting your cabinets produces the most dramatic results at the least cost. With new handles, it can make a kitchen look completely different in just a weekend.
Most of the updates in this guide are DIY-friendly. Painting, fitting backsplashes, installing shelves, laying adhesive flooring, and swapping out hardware are all jobs that most people can do at home with basic tools. For electrical, plumbing, or structural work, always use a qualified professional.
Laminate countertops are the most budget-friendly option and come in designs that mimic stone and wood. Butcher block is another great option-it’s warm, natural, and can be repaired if damaged. Both are much cheaper than stone or quartz.
Replace some of the upper cabinets with open shelving, use light colors on your walls and cabinets, add under-cabinet lighting, and keep surfaces clutter-free with smart storage solutions. A large mirror or reflective splashback can also make a small kitchen feel more spacious.
For cosmetic updates – painting, hardware, flooring, lighting fixtures, and splashbacks – DIY is usually the better option to save money. For anything involving electrical, gas, or structural changes, hiring a professional is always the safer and smarter option.