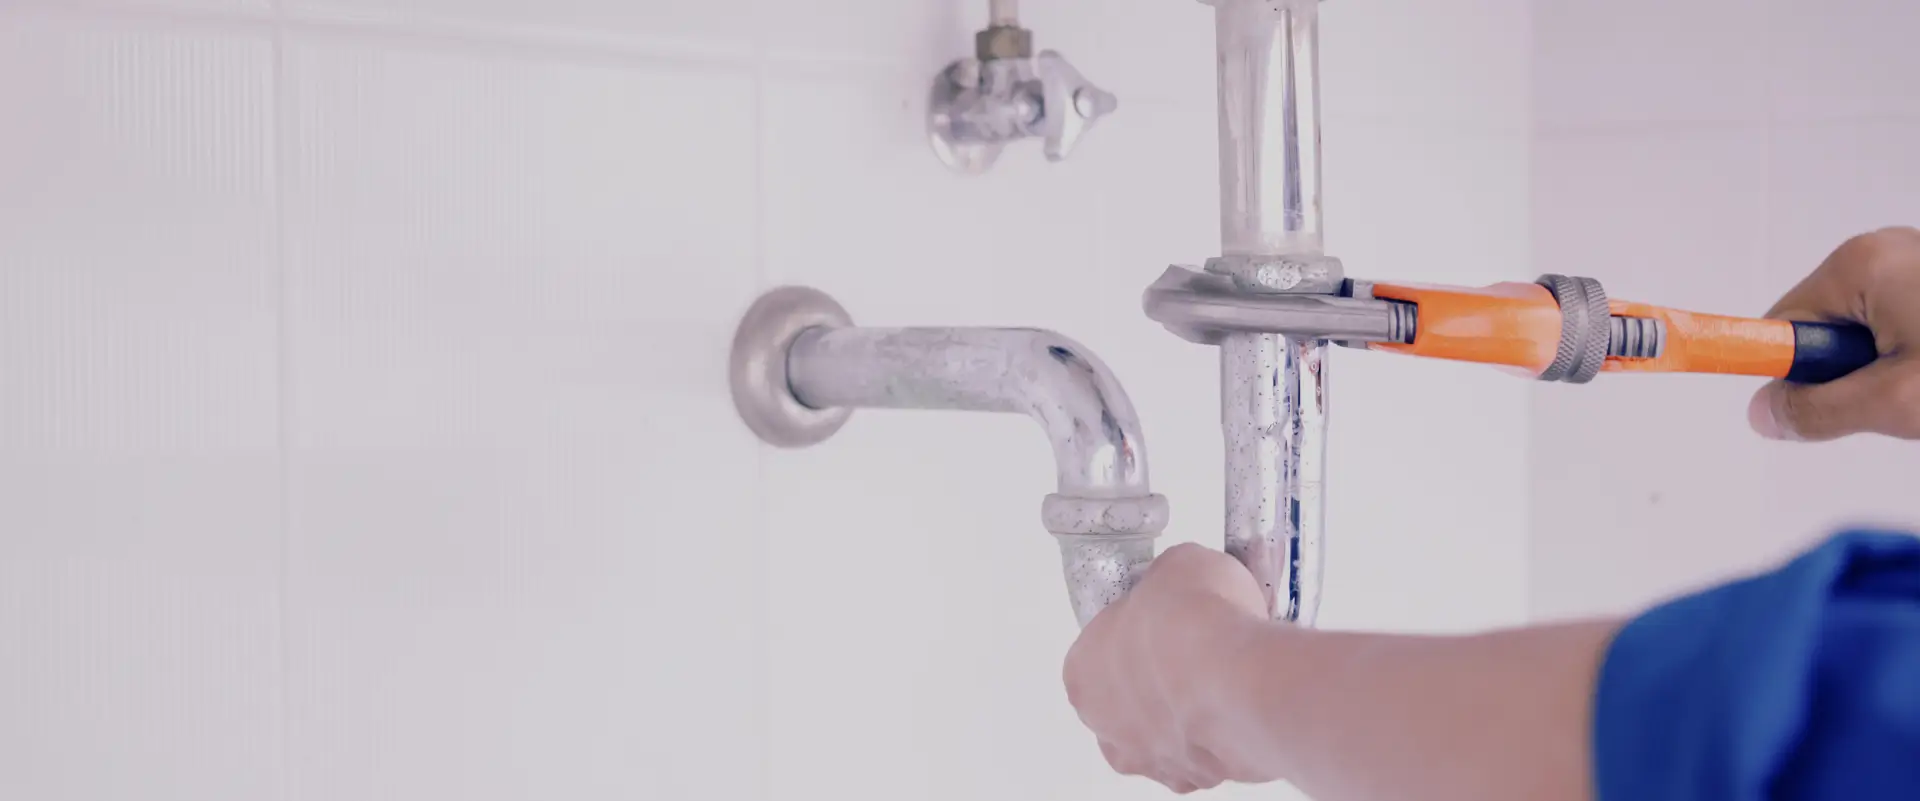
If water is leaking around your bath, sink, or window frame, silicone sealant is your best friend. It fills the gap between two surfaces and forms a tough, waterproof barrier that keeps moisture out and your home safe from water damage. The good news? Applying it is not as hard as it looks. With the right tools, a clean surface, and a steady hand, you can get a neat, professional-looking result – even if this is your very first time.
This guide walks you through every step, from picking the right product to smoothing out a perfect finish. Whether you are sealing a bathtub, kitchen worktop, window, or shower tray, the process is the same. Let’s get started.
What Is Silicone Sealant?
Silicone sealant is a flexible, rubber-like substance that bonds to most surfaces and stays waterproof even in wet conditions. Unlike ordinary filler, it does not crack or go brittle over time. It stretches slightly when surfaces move, which makes it ideal for joints around baths, showers, sinks, and windows.
It handles heat really well too, staying flexible even in steamy bathrooms or near ovens. It resists chemicals, humidity, and general wear, which is why people have been using it in homes and industries for decades.
Which Type of Silicone Sealant Should You Use?
Not all silicone sealants are the same. Here is a quick breakdown to help you pick the right one:
General-purpose silicone sealant: Works on aluminium, glass, ceramic, wood, plastic, and metal. Great to have at home for quick repairs and general sealing jobs.
Mould-resistant silicone sealant: Best for bathrooms, showers, and anywhere that stays damp. It stops black mould from forming inside the sealant over time, keeping things looking clean for longer.
Sanitary or bathroom silicone: Designed specifically for sinks, baths, and showers. It often contains antifungal additives and comes in colours like white, grey, or clear to match your fixtures.
Paintable silicone: If you need to paint over the seal after it dries, make sure the product label says it is paintable. Most standard silicones cannot be painted over.
When you are in doubt about which product to choose, the team at The Handy Home Pro can point you in the right direction based on your exact project.
Tools and Materials You Will Need
Gather these items before you start so you are not running around mid-job:
- Silicone sealant cartridge (your chosen type)
- Caulking gun (sealant gun)
- Utility knife or scraper
- Mild detergent or rubbing alcohol
- Clean cloths or rags
- Masking tape
- Protective gloves
- Smoothing tool or damp finger (more on this below)
- Soapy water (optional, for smoothing)
How to Apply Silicone Sealant: Step-by-Step
Step 1: Remove the Old Sealant
If there is existing sealant in the joint, it must come out completely before you apply new product. Old sealant does not bond well to new sealant, so leaving it in place leads to a weak, messy result.
Put on your gloves first. Then use your utility knife or a silicone scraper to cut along both edges of the old sealant bead. Slide the knife under the bead and pull it away from the surface. Work slowly so you do not scratch tiles or surfaces underneath.
If stubborn bits remain stuck to the surface, a specialised silicone remover tool or solvent-based remover makes the job much easier. You can find these at most hardware stores.
Step 2: Clean and Prepare the Surface
This step is the most important one, and it is also the one people skip most often. If the surface has any grease, soap scum, dust, or moisture on it, the new sealant will not stick properly – and it will start peeling away within weeks.
Clean the area thoroughly using mild detergent or rubbing alcohol on a cloth. For non-porous surfaces like tiles or glass, use white spirit or a non-oily solvent to degrease them first, then wipe clean. If you are working on a wood surface, make sure it is painted or primed before you apply the sealant.
Once cleaned, let the surface dry completely. Silicone is waterproof, which means it also resists sticking to wet surfaces. Make sure the room is well-ventilated too, because silicone fumes can be quite strong during application.
Step 3: Apply Masking Tape for Clean Edges
This is a little trick that makes a huge difference to the final look. Place masking tape along both sides of the gap – one strip on each surface, leaving just the joint exposed.
The tape acts as a guide that keeps your sealant line straight and prevents any excess product from smearing onto clean surfaces. When you remove the tape later (before the sealant skins over), you get a razor-sharp edge that looks professional.
Step 4: Prepare the Cartridge and Caulking Gun
Load the cartridge into the caulking gun. Adjust the plunger so it sits snugly against the back of the cartridge. Using a utility knife, cut the nozzle tip at a 45-degree angle. The size of the opening controls how much sealant comes out – cut it slightly wider than the gap you are filling, and start small, since you can always cut more off if needed.
Pierce the inner foil seal inside the cartridge with a nail or the tip of your knife. Squeeze the trigger gently until sealant just starts to appear at the nozzle. You are now ready to apply.
Pro tip: Try the sealant on a scrap piece of card or wood first to get a feel for the flow. This helps you set the right speed and pressure before you work on the real surface.
Step 5: Apply the Sealant
Hold the gun at a 45-degree angle to the joint. Start at one end – ideally in a corner – and move along the joint in one smooth, steady stroke. Keep the trigger pressure consistent so the bead of sealant is even all the way along.
Speed matters here. Move too slowly and you will apply too much sealant, leaving a thick uneven bead. Move too fast and you will not fill the gap properly. Aim for a pace that lays down a neat, unbroken line.
You will know the gap is properly filled when you see a slight overflow of sealant on both sides of the joint. That means the product is making good contact with both surfaces.
When you reach the end, push the pressure-release lever on the back of the gun. This stops the sealant from continuing to flow out of the nozzle. If you forget this step, you end up with a blob of sealant dripping onto your work.
Step 6: Smooth the Sealant
Right after applying, smooth the sealant bead before it starts to skin over. You have a few good options:
A damp finger: Dip your finger in soapy water (not saliva – that can introduce bacteria and cause mould) and run it along the sealant in one smooth stroke. This pushes the sealant into the joint and leaves a neat, concave finish.
A smoothing tool: Dedicated silicone finishing tools give a consistent curve to the bead every time. After the first pass, discard any excess sealant that builds up on the tool, then make a second light pass with almost no pressure for a perfectly smooth result.
Step 7: Remove the Masking Tape and Leave to Cure
Peel off the masking tape while the sealant is still wet – do not wait until it dries. Hold the tape at a low angle and pull it back slowly. This lifts away any excess sealant and leaves a sharp, clean edge on both sides of the joint.
Now leave it alone. Silicone sealant is touch-dry within 30 minutes to an hour, but it takes a full 24 hours to fully cure. Keep the area well-ventilated during this time. Do not run water over it, press on it, or use the bath or shower until the sealant has completely set.
Drying speed depends on the temperature and humidity in the room. For best results, the temperature should be somewhere between 4°C and 38°C, with moderate humidity. If you need it to dry faster, you can place a small fan nearby to improve airflow.
Read Further: How to Repair Hairline Cracks on Ceiling? (Guide 2026)
Why Silicone Sealant Is Worth Doing Properly
A well-applied sealant does a lot more than just look tidy. Here is why it matters:
Stops water damage: Water getting into gaps around baths and sinks causes mould growth, structural damage, and rotting woodwork over time. A solid sealant line prevents all of that.
Stays flexible: Unlike rigid fillers, silicone moves with the surfaces it seals. Baths and worktops expand and contract slightly with temperature changes. Silicone handles that without cracking.
Lasts for years: A properly applied sealant does not need to be redone every season. Done right, it holds up for many years with no maintenance.
Saves money on repairs: Sealing gaps early stops small problems from turning into costly repairs like water-damaged floors or walls.
Pro Tips for a Neat Finish Every Time
Always fill your bath with water before sealing around it. When the bath is full, it sits slightly lower due to the weight. Sealing it empty means the sealant stretches and gaps can appear when someone gets in. Drain the bath only after the sealant has fully cured.
Do not try to seal over old, mouldy sealant. Mould grows through the old layer into the new one. Remove everything and start fresh.
Work in a single, uninterrupted stroke where possible. Stopping and starting leaves lumps and visible joins in the sealant line.
If you use up only part of a cartridge, cover the nozzle with a nail or plug it with tape so the sealant at the tip does not cure and block the nozzle.
Clean any accidental smears with soapy water while still wet. Once dry, you need a hard sponge or scraper to remove dried silicone from surrounding surfaces.
The team at The Handy Home Pro recommends always choosing a mould-resistant formula for bathroom projects and a clear or colour-matched sealant where the joint will be visible – small choices that make a big difference to the long-term result.
Common Mistakes to Avoid
Skipping surface prep: This is the number one reason sealant peels away early. Always clean and dry the surface fully before you start.
Leaving the pressure on: Forgetting to release the caulking gun trigger at the end of the run causes the sealant to keep flowing and creates a messy blob at the end of your line.
Using a dry finger to smooth: The sealant will stick to a dry finger and pull away from the surface. Always use a wet finger or a smoothing tool.
Peeling the tape too late: If the sealant has already started to skin over, the tape pulls chunks of it away. Remove it while the product is still wet.
Using the space before the sealant cures: Running water or putting pressure on the sealed joint before it fully sets weakens the bond. Give it the full 24 hours.
Conclusion
Applying silicone sealant is a simple skill that comes in handy on bathroom or kitchen projects. Once you learn how to prep the surface, load the gun, apply a smooth bead, and finish it off cleanly, you can confidently tackle any sealing job around the house.
The key steps are always the same: clean the surface, tape the edges, apply with consistent pressure, smooth while wet, remove the tape, and let it cure completely. Follow these steps and you’ll get a result that will look great and last for years.
Whether you’re doing it for the first time or brushing up on your technique, the process gets easier every time. And when you need the right sealant, tools, or advice for your next project, The Handy Home Pro has everything you need.
Check Also: How to Tile Your Bathroom: A Step-by-Step Guide (2026)
Frequently Asked Questions (FAQs)
Silicone becomes touch-dry within 30 minutes to one hour. However, it takes a full 24 hours to cure completely. Humidity, temperature, and the thickness of the bead all affect drying time. Always check the specific product’s data sheet for the most accurate guidance.
It is not recommended. New sealant does not bond well to old sealant, especially if the old layer has mold on it. Always remove all traces of old sealant and clean the surface thoroughly before applying fresh product.
Cut the nozzle at a 45-degree angle. The size of the opening should be slightly larger than the gap you are filling. Start with a smaller cut – you can always trim it wider, but you cannot make it smaller.
Yes, but the wood should be painted or primed first. Bare, untreated wood can absorb moisture and prevent the sealant from bonding properly. Make sure the surface is clean and dry before applying.
If the sealant is still wet, wipe it away quickly with a cloth dampened in soapy water. Once it has dried, use a utility knife or silicone scraper to cut and peel it away. Silicone remover products are available at hardware stores and make the job much easier.
Masking tape is optional but highly recommended, especially for beginners. It keeps your lines straight, protects surrounding surfaces, and gives a clean, professional edge when you remove it. It takes an extra minute to apply and saves a lot of tidying up afterwards.
Use a mould-resistant silicone sealant in wet areas like bathrooms and kitchens. Keep the area well-ventilated and wipe down wet surfaces regularly. If mold does appear, you will need to remove the sealant completely, clean the area with a mould-killing cleaner, and apply a fresh mould-resistant sealant.